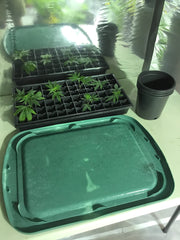
How To Transplant Clones into 1gal Pots in Your Hydroponic Garden
In this article, I'm going to give you some step-by-step instructions on how to transplant clones into 1gal pots. Once you dive into this all important step in your home cultivation's path to success, it gets easier to accomplish each time.
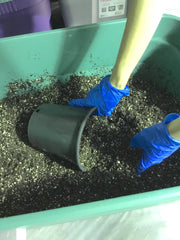
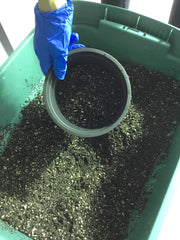
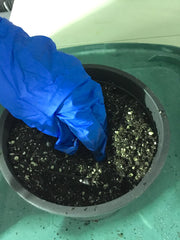
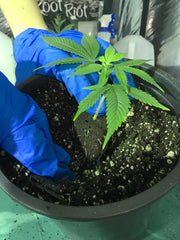
#3.) Make a 3-4 inch indentation in your soil and gently place your clone in your pot and cover with soil, leaving at least an inch of stem exposed.

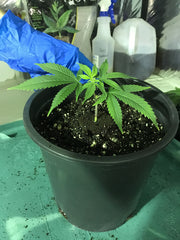
#4.) Get a plant tag, label your plant so you don't mix them up with other strains in your garden, and place the transplant under an LED or metal halide (MH) lamp for 18 hours on, 6 hours off. Make sure your grow area is LIGHT PROOF, ventilated and free from pests. Fertilize with Suite Leaf Plant Nutrients.

Stay tuned for more hydroponic gardening blogs from me. Click HERE to view our archive of indoor gardening tips.